Select Image
Go to Media > Library and select the image to edit.

Click the Edit Image button located below the image.

OR
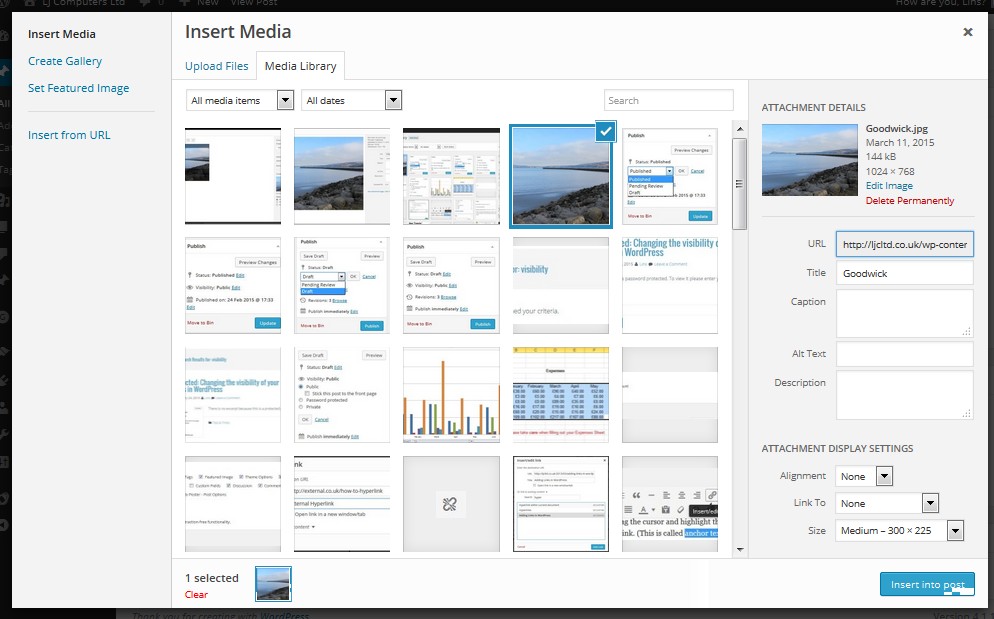
When in a post\page click on the Add Media button, select the image to edit. Click the Edit Image link on the right.
Crop Image
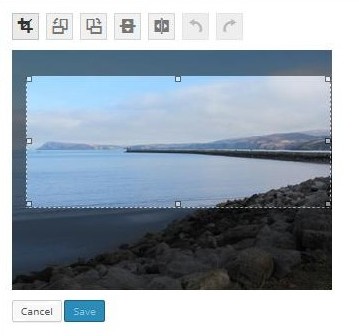
Click and drag to outline the crop area.
Adjusting area selected…
Once you have released your mouse if you want to make minor adjustments move your mouse cursor over one of the eight square resizing handles (a double headed arrow will appear) and click and drag to suit. You can also move the entire crop area selected by moving your mouse towards the centre and clicking and dragging when your mouse turns into a four headed arrow.
If you’d like your image cropped to a specific ratio, enter the values in the Aspect ratio input fields (e.g. 1:1 (square), 4:3, 16:9 etc.). You can then hold down the Shift key and drag to outline the crop area, keeping this aspect ratio locked. If there is already a selection made, specifying the aspect ratio will automatically change the selection to match it. Whenever the selection box is adjusted, the dimensions are displayed in the Selection input fields. You can also manually enter the dimensions of the selection box (in pixels) by entering values into these two fields.
Once satisfied click the Crop button (![]() top left) to adjust the image to its new size. Click the Save button to finalise your changes and close the Attachment Details window down (Media Library) or Insert into post (Add Media).
top left) to adjust the image to its new size. Click the Save button to finalise your changes and close the Attachment Details window down (Media Library) or Insert into post (Add Media).
Any inserts into your post\page will display the cropped image as below.

Note: by default you will be adjusting ALL your image sizes.
Restore Original Image
To revert back to the original image after it has been edited and changes saved, locate on the right hand side in the edit dialog box the text RESTORE ORIGINAL IMAGE. Click to expand and select the button Restore Image. Any other edited copies of the original will not be removed and will therefore remain intact in any posts\pages you’ve used the cropped versions.
